


I’m not a huge fan of Valentine’s Day. To me, doing heartfelt, romantic things shouldn’t require a holiday. Since I do love party styling and DIY, my love for the holiday has grown over the years. I will warn you, there is a feminist twist to my Valentine’s Day DIYs. Like these SUPER CUTE DIY Girl Power pins.
Initially, our idea was to share this DIY in February (pre-Valentine’s) but with the Women’s March taking place this weekend and so much history happening with women lately- we just couldn’t wait. We simply adore how these Girl Power pins came out and hope you love them, too.
My creative sidekick, Lee, and I came up with these fun pins just in time for Galentine’s Day. And they are so simple to make, you can do it too!
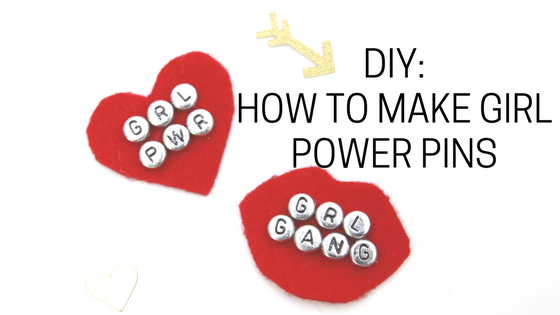
DIY: Girl Power Pins
What you will need:
Red felt (you can do pink or black too!)
Letter Beads (we love metallics to create the look of a grill)
Glue gun
safety pins
How to Make It
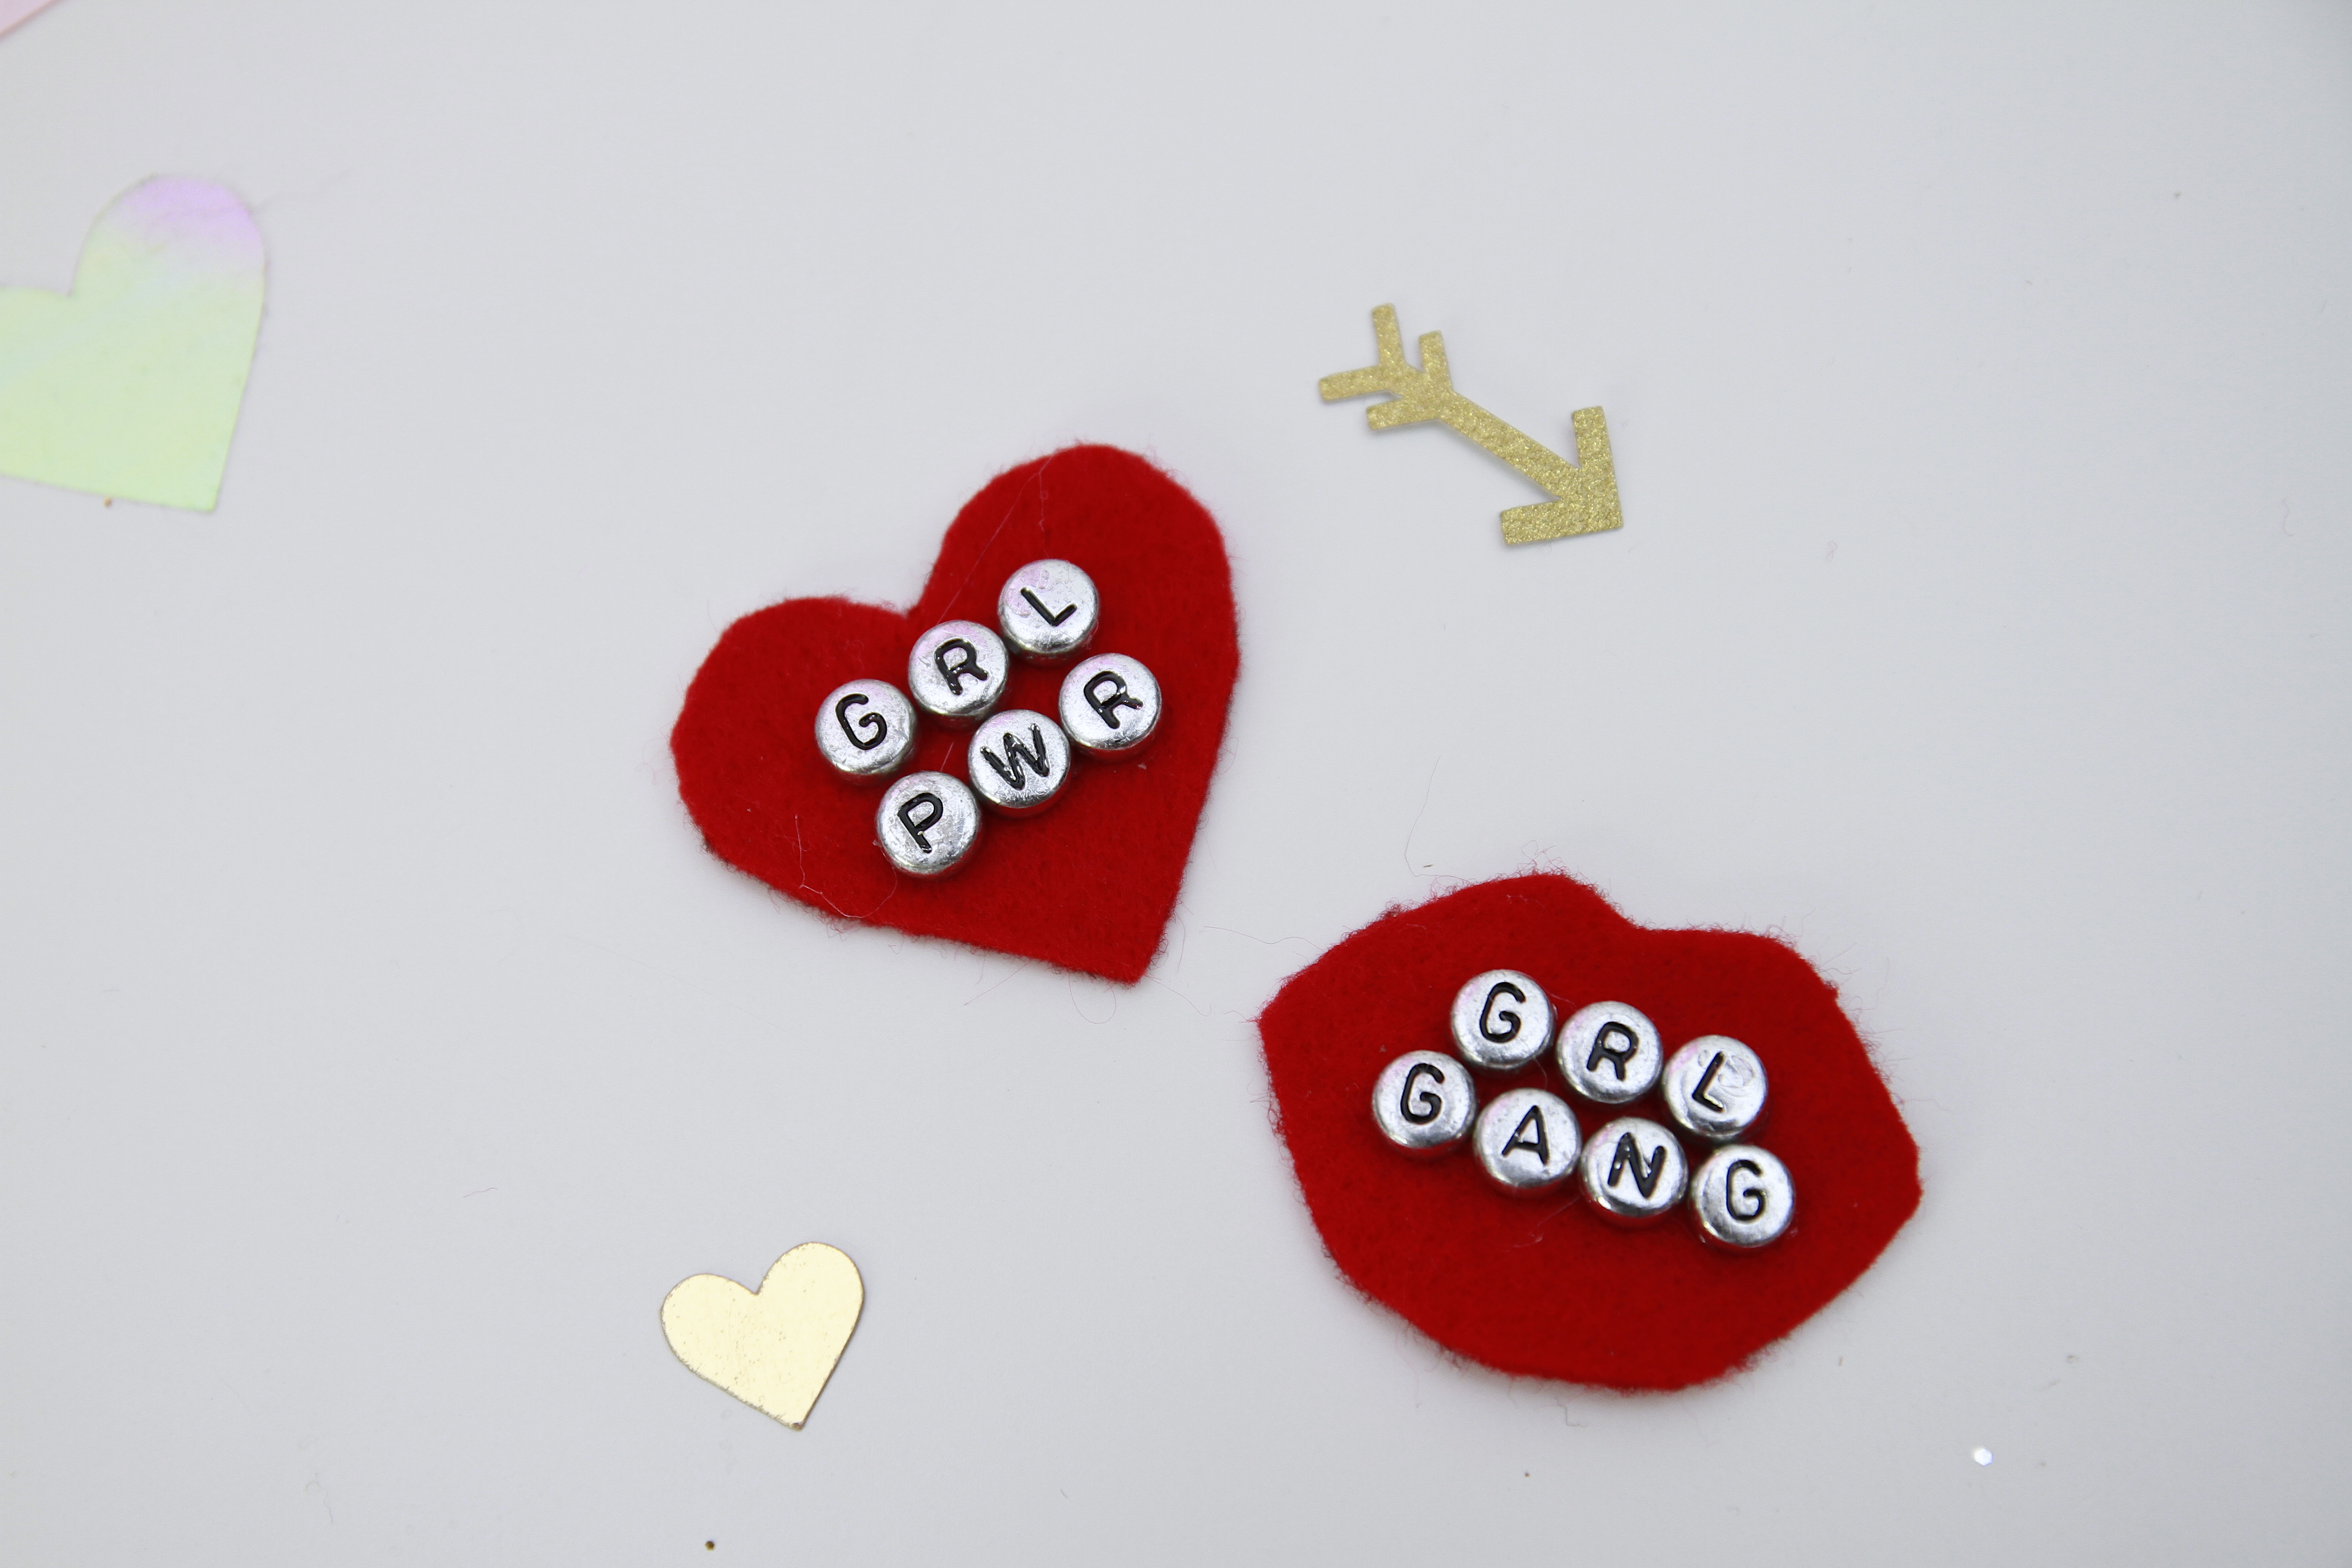
Cut a heart shape or lip shape
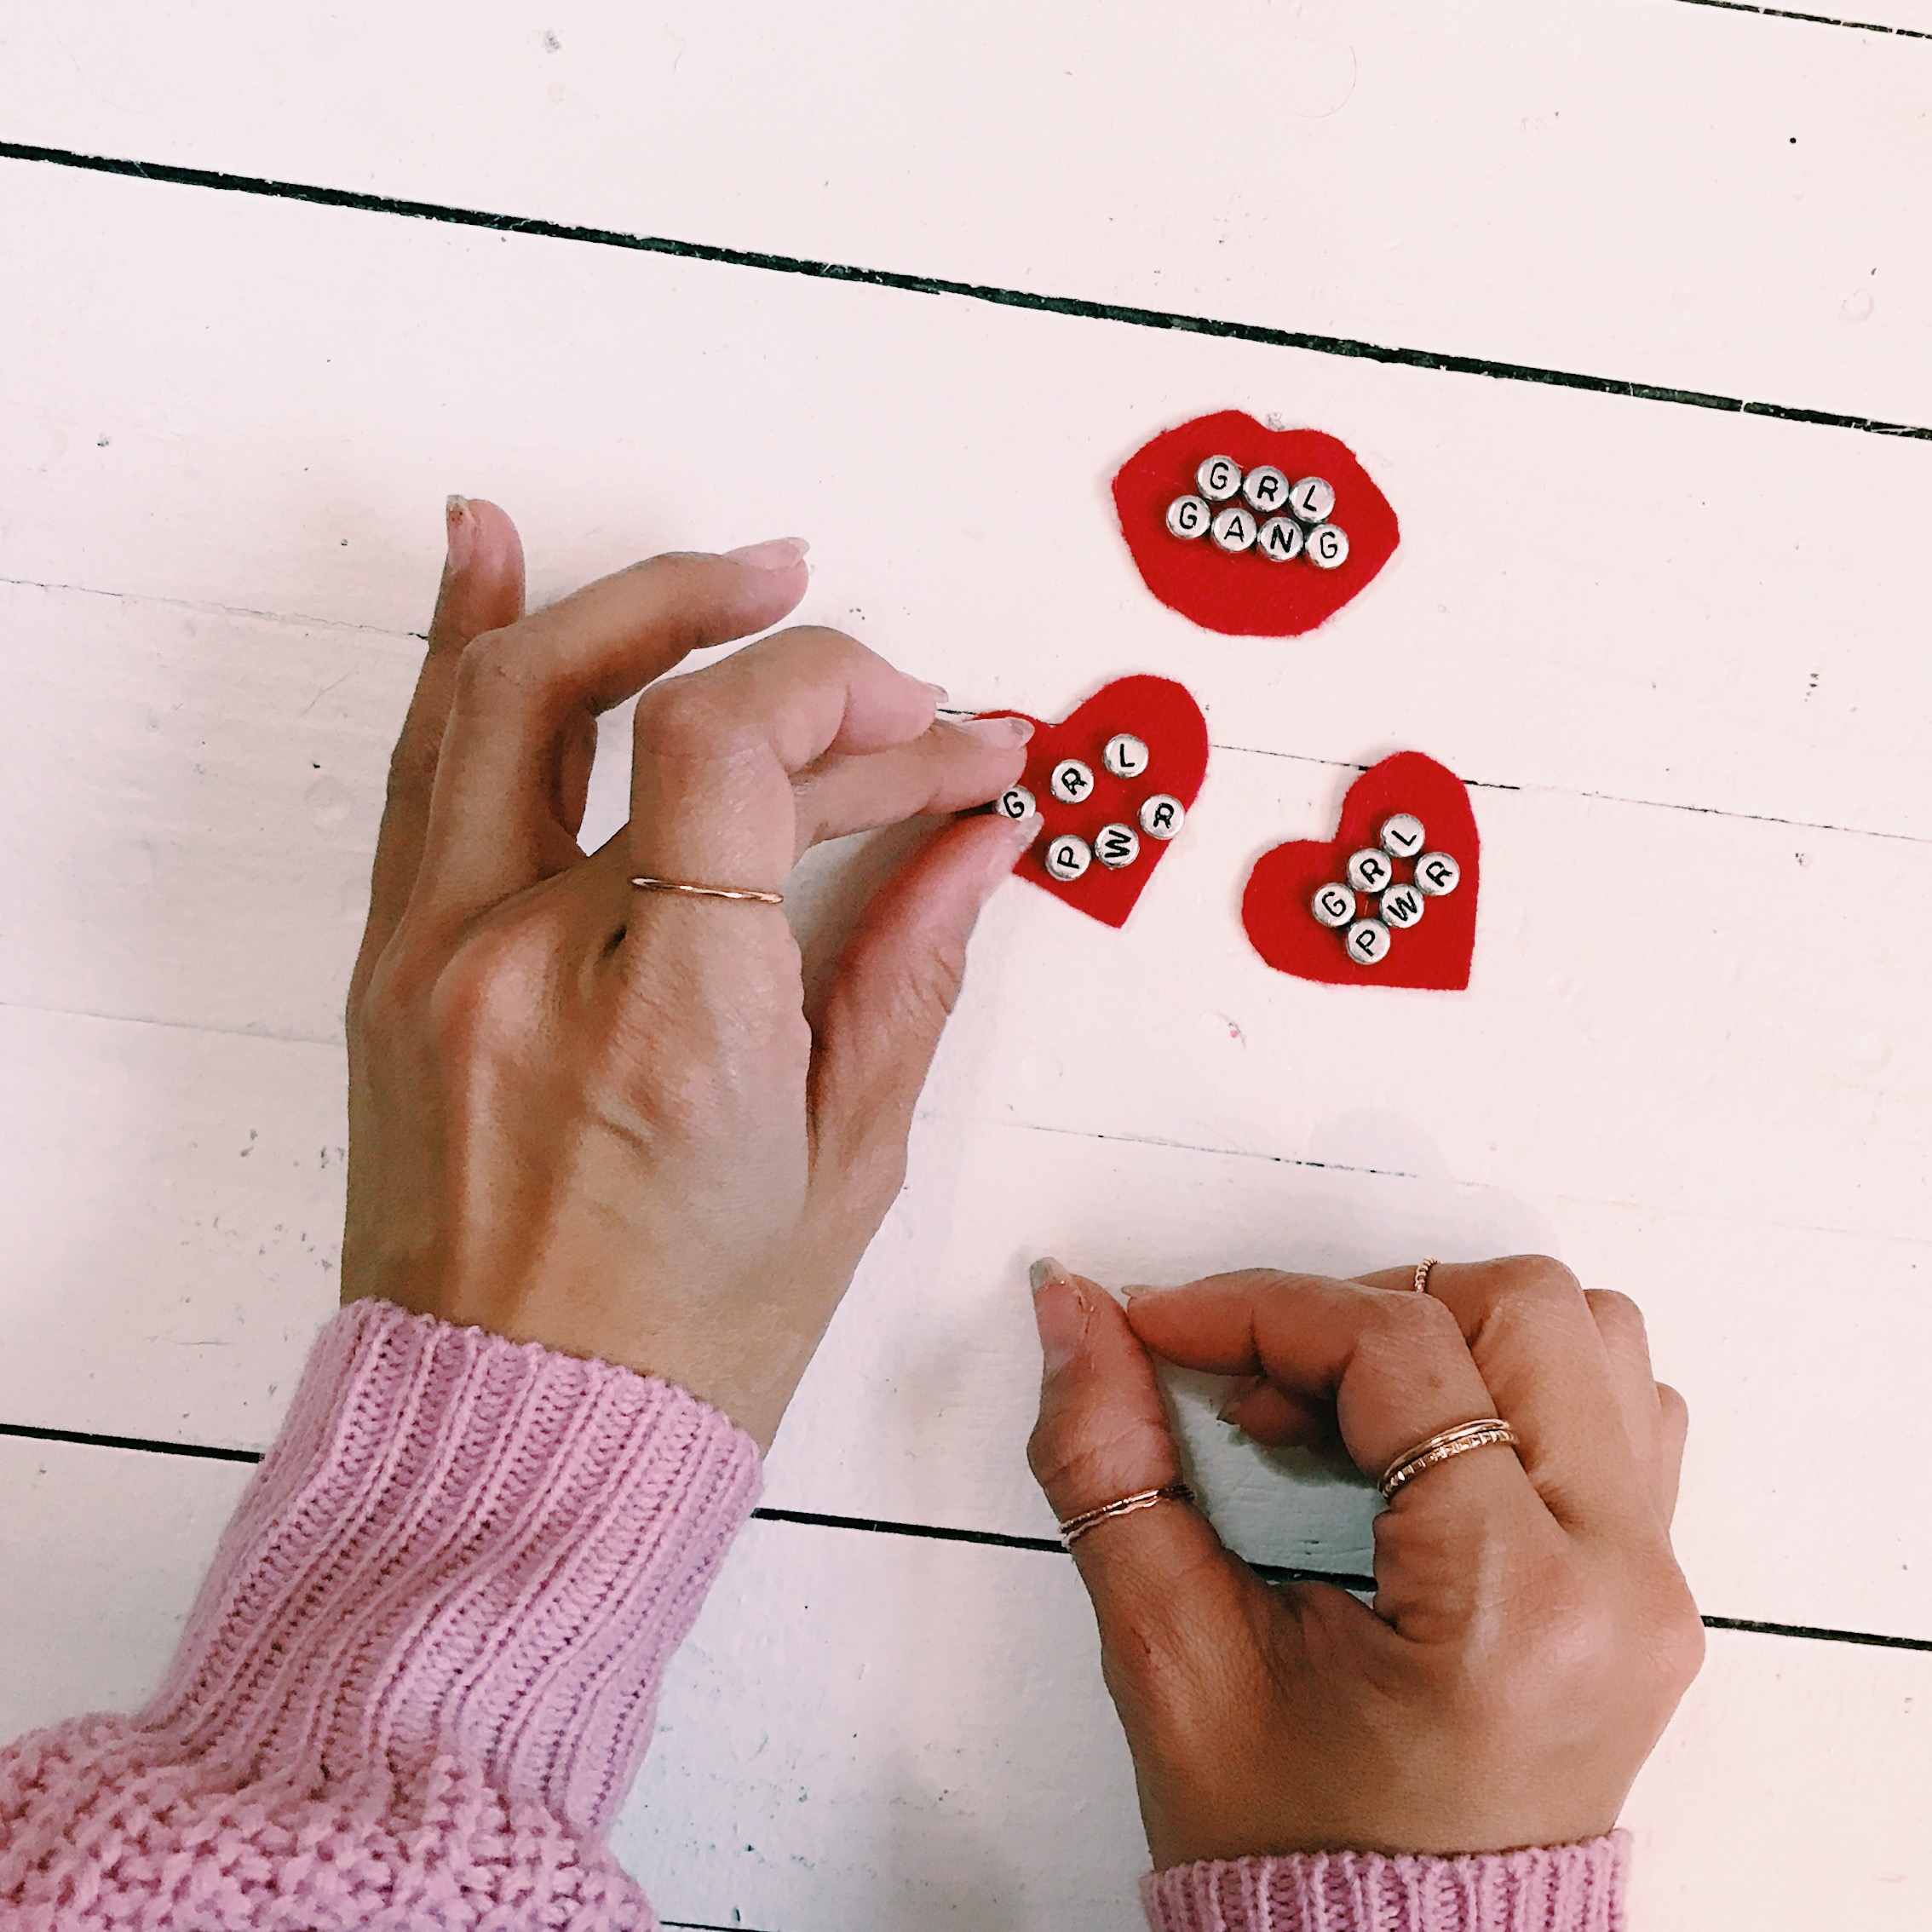
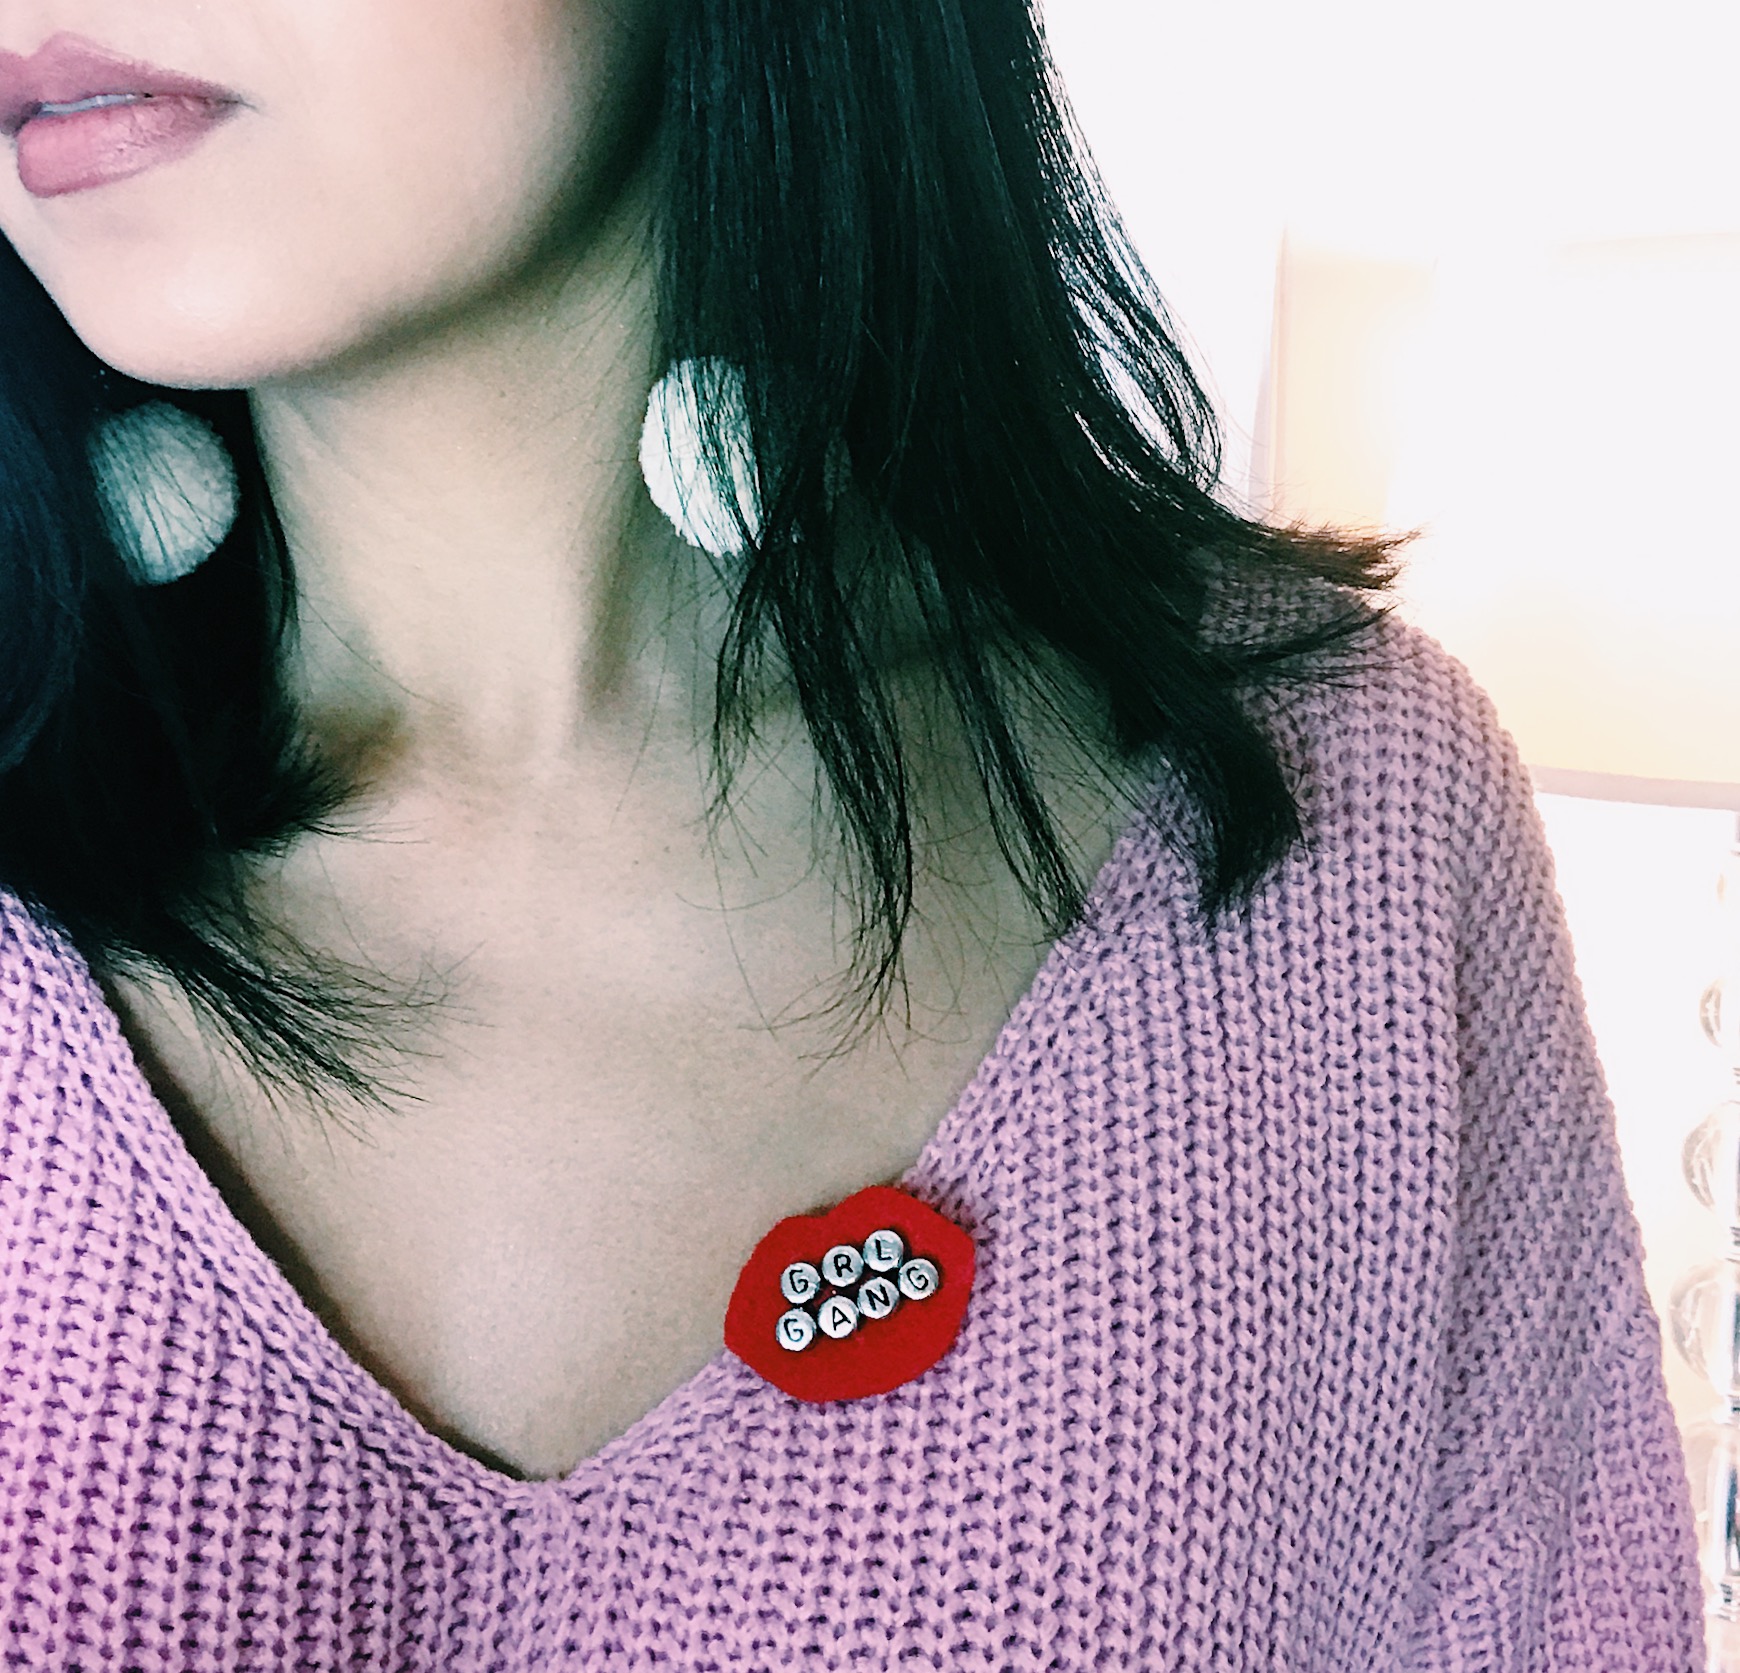
Place the letter beads before gluing them down to make sure they are centered- we used the phrases “GRL GANG” and “GRL PWR”
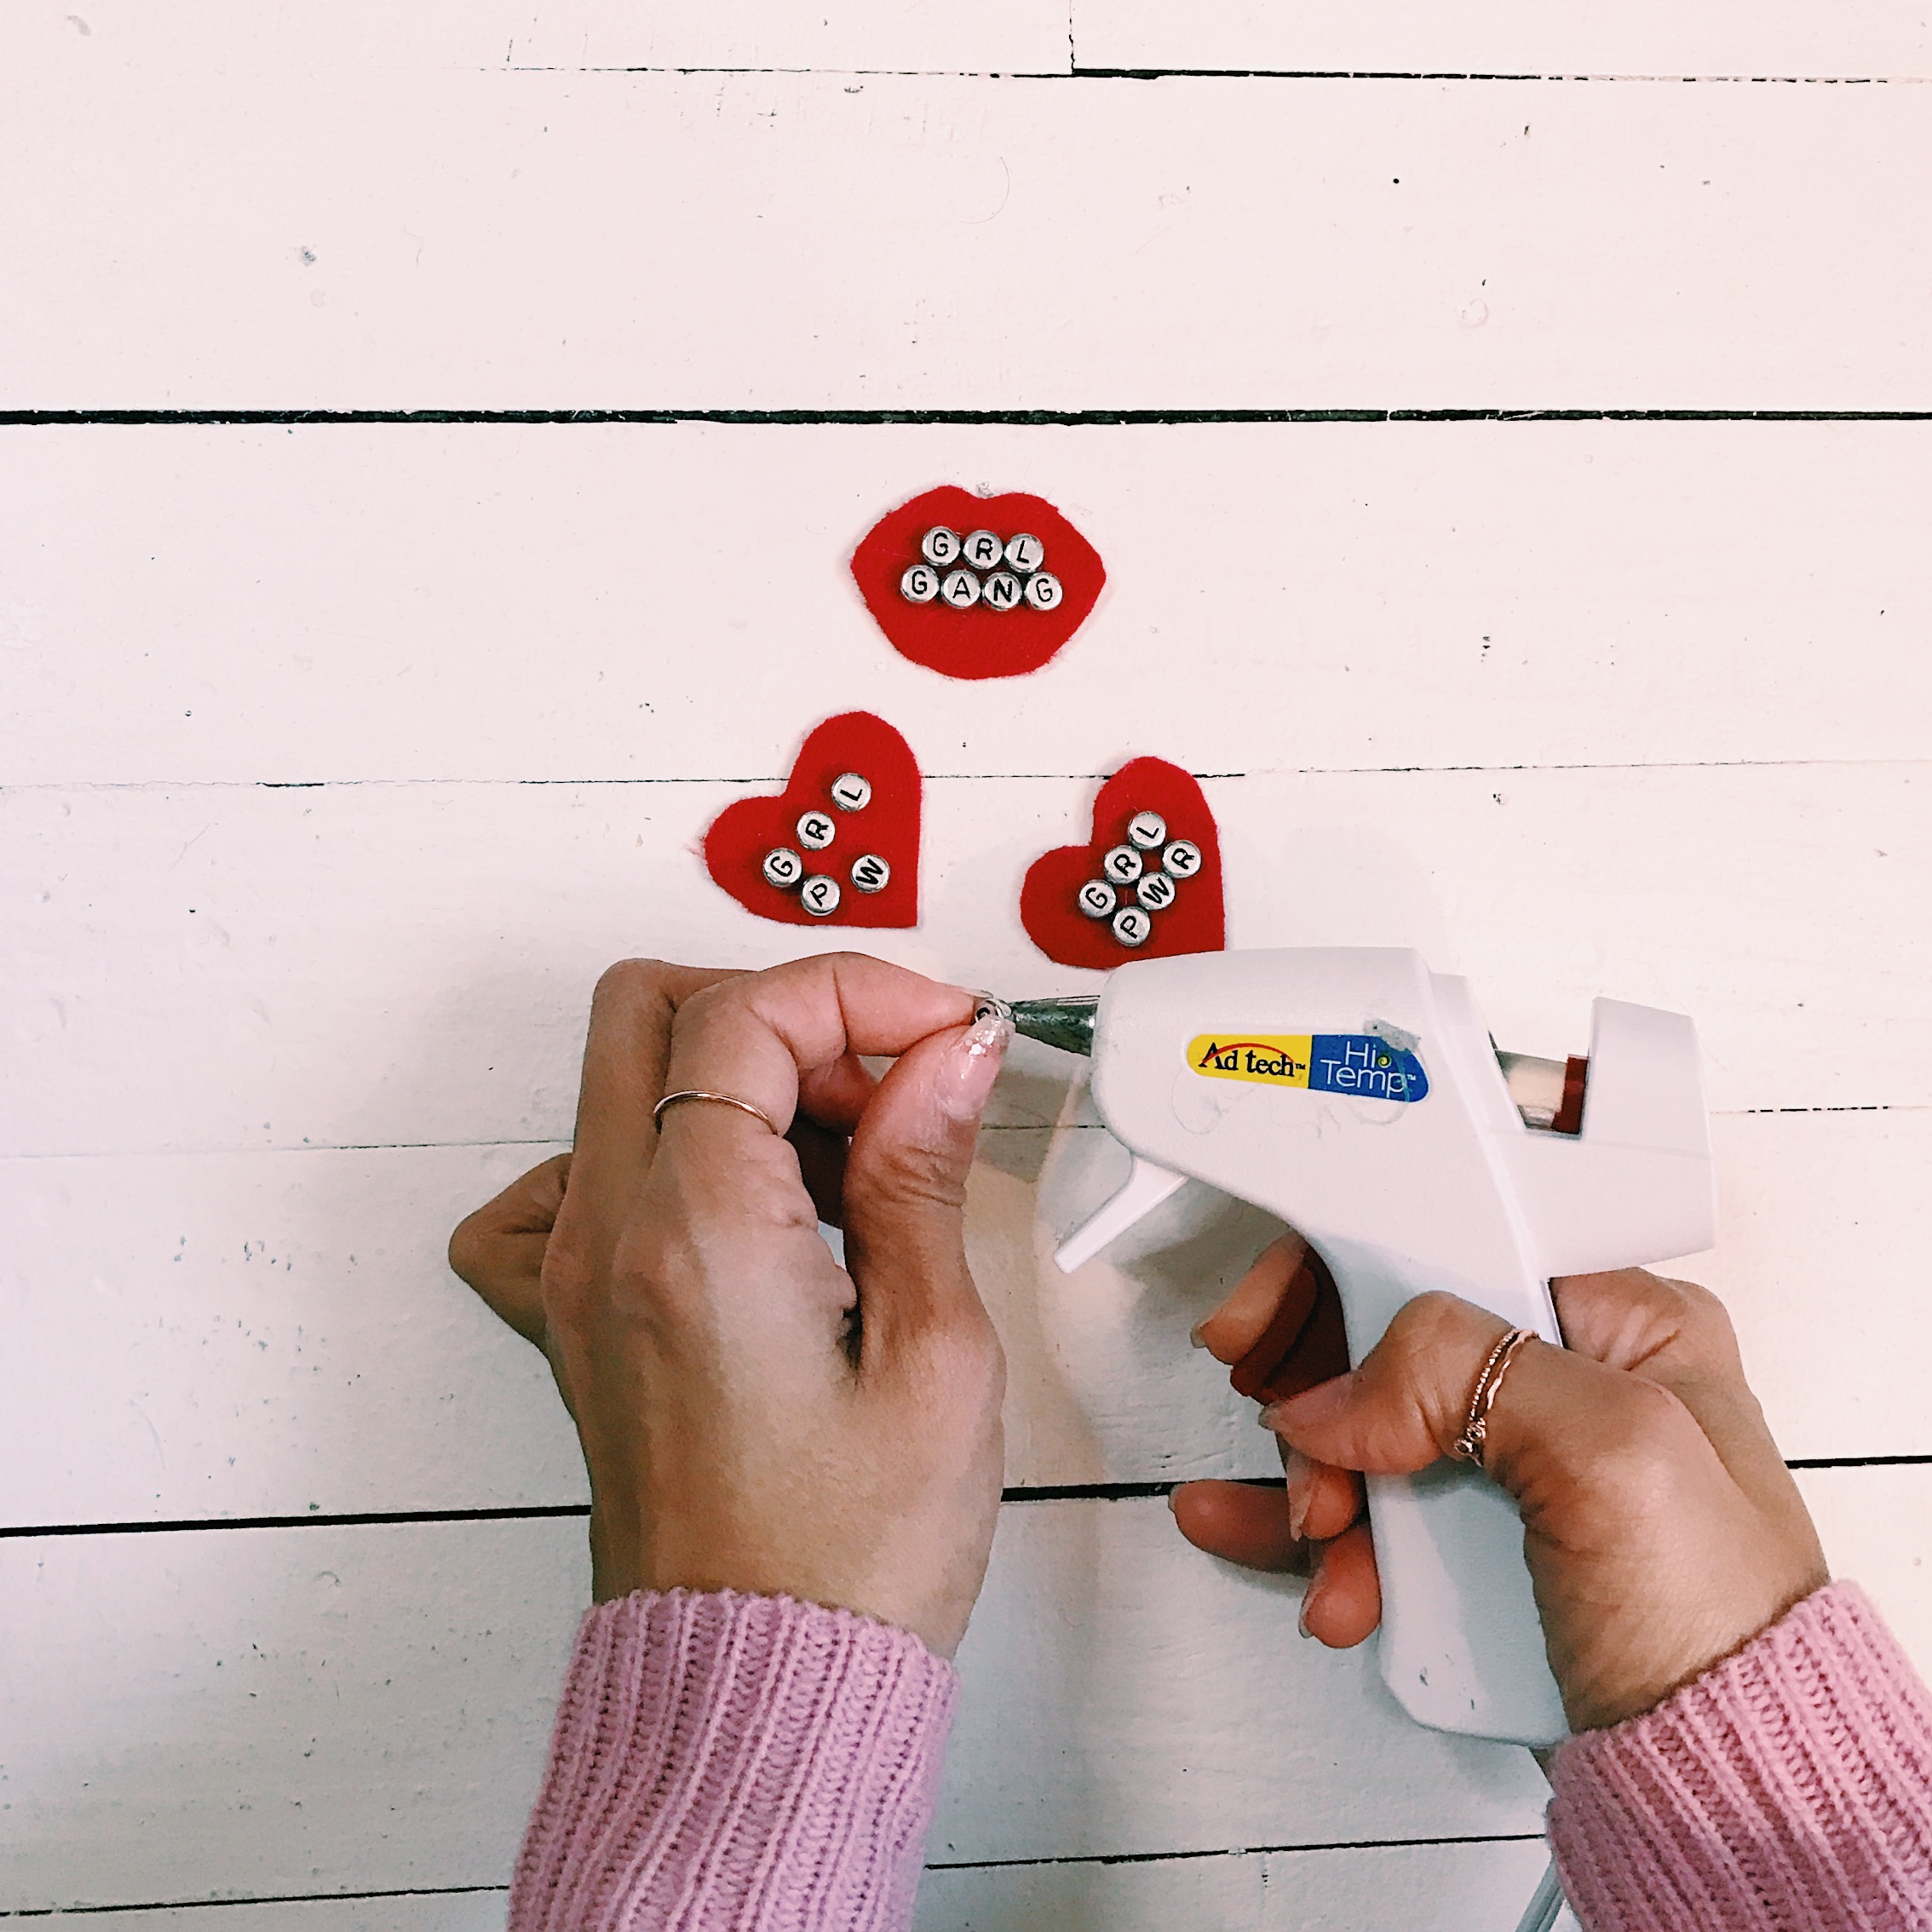
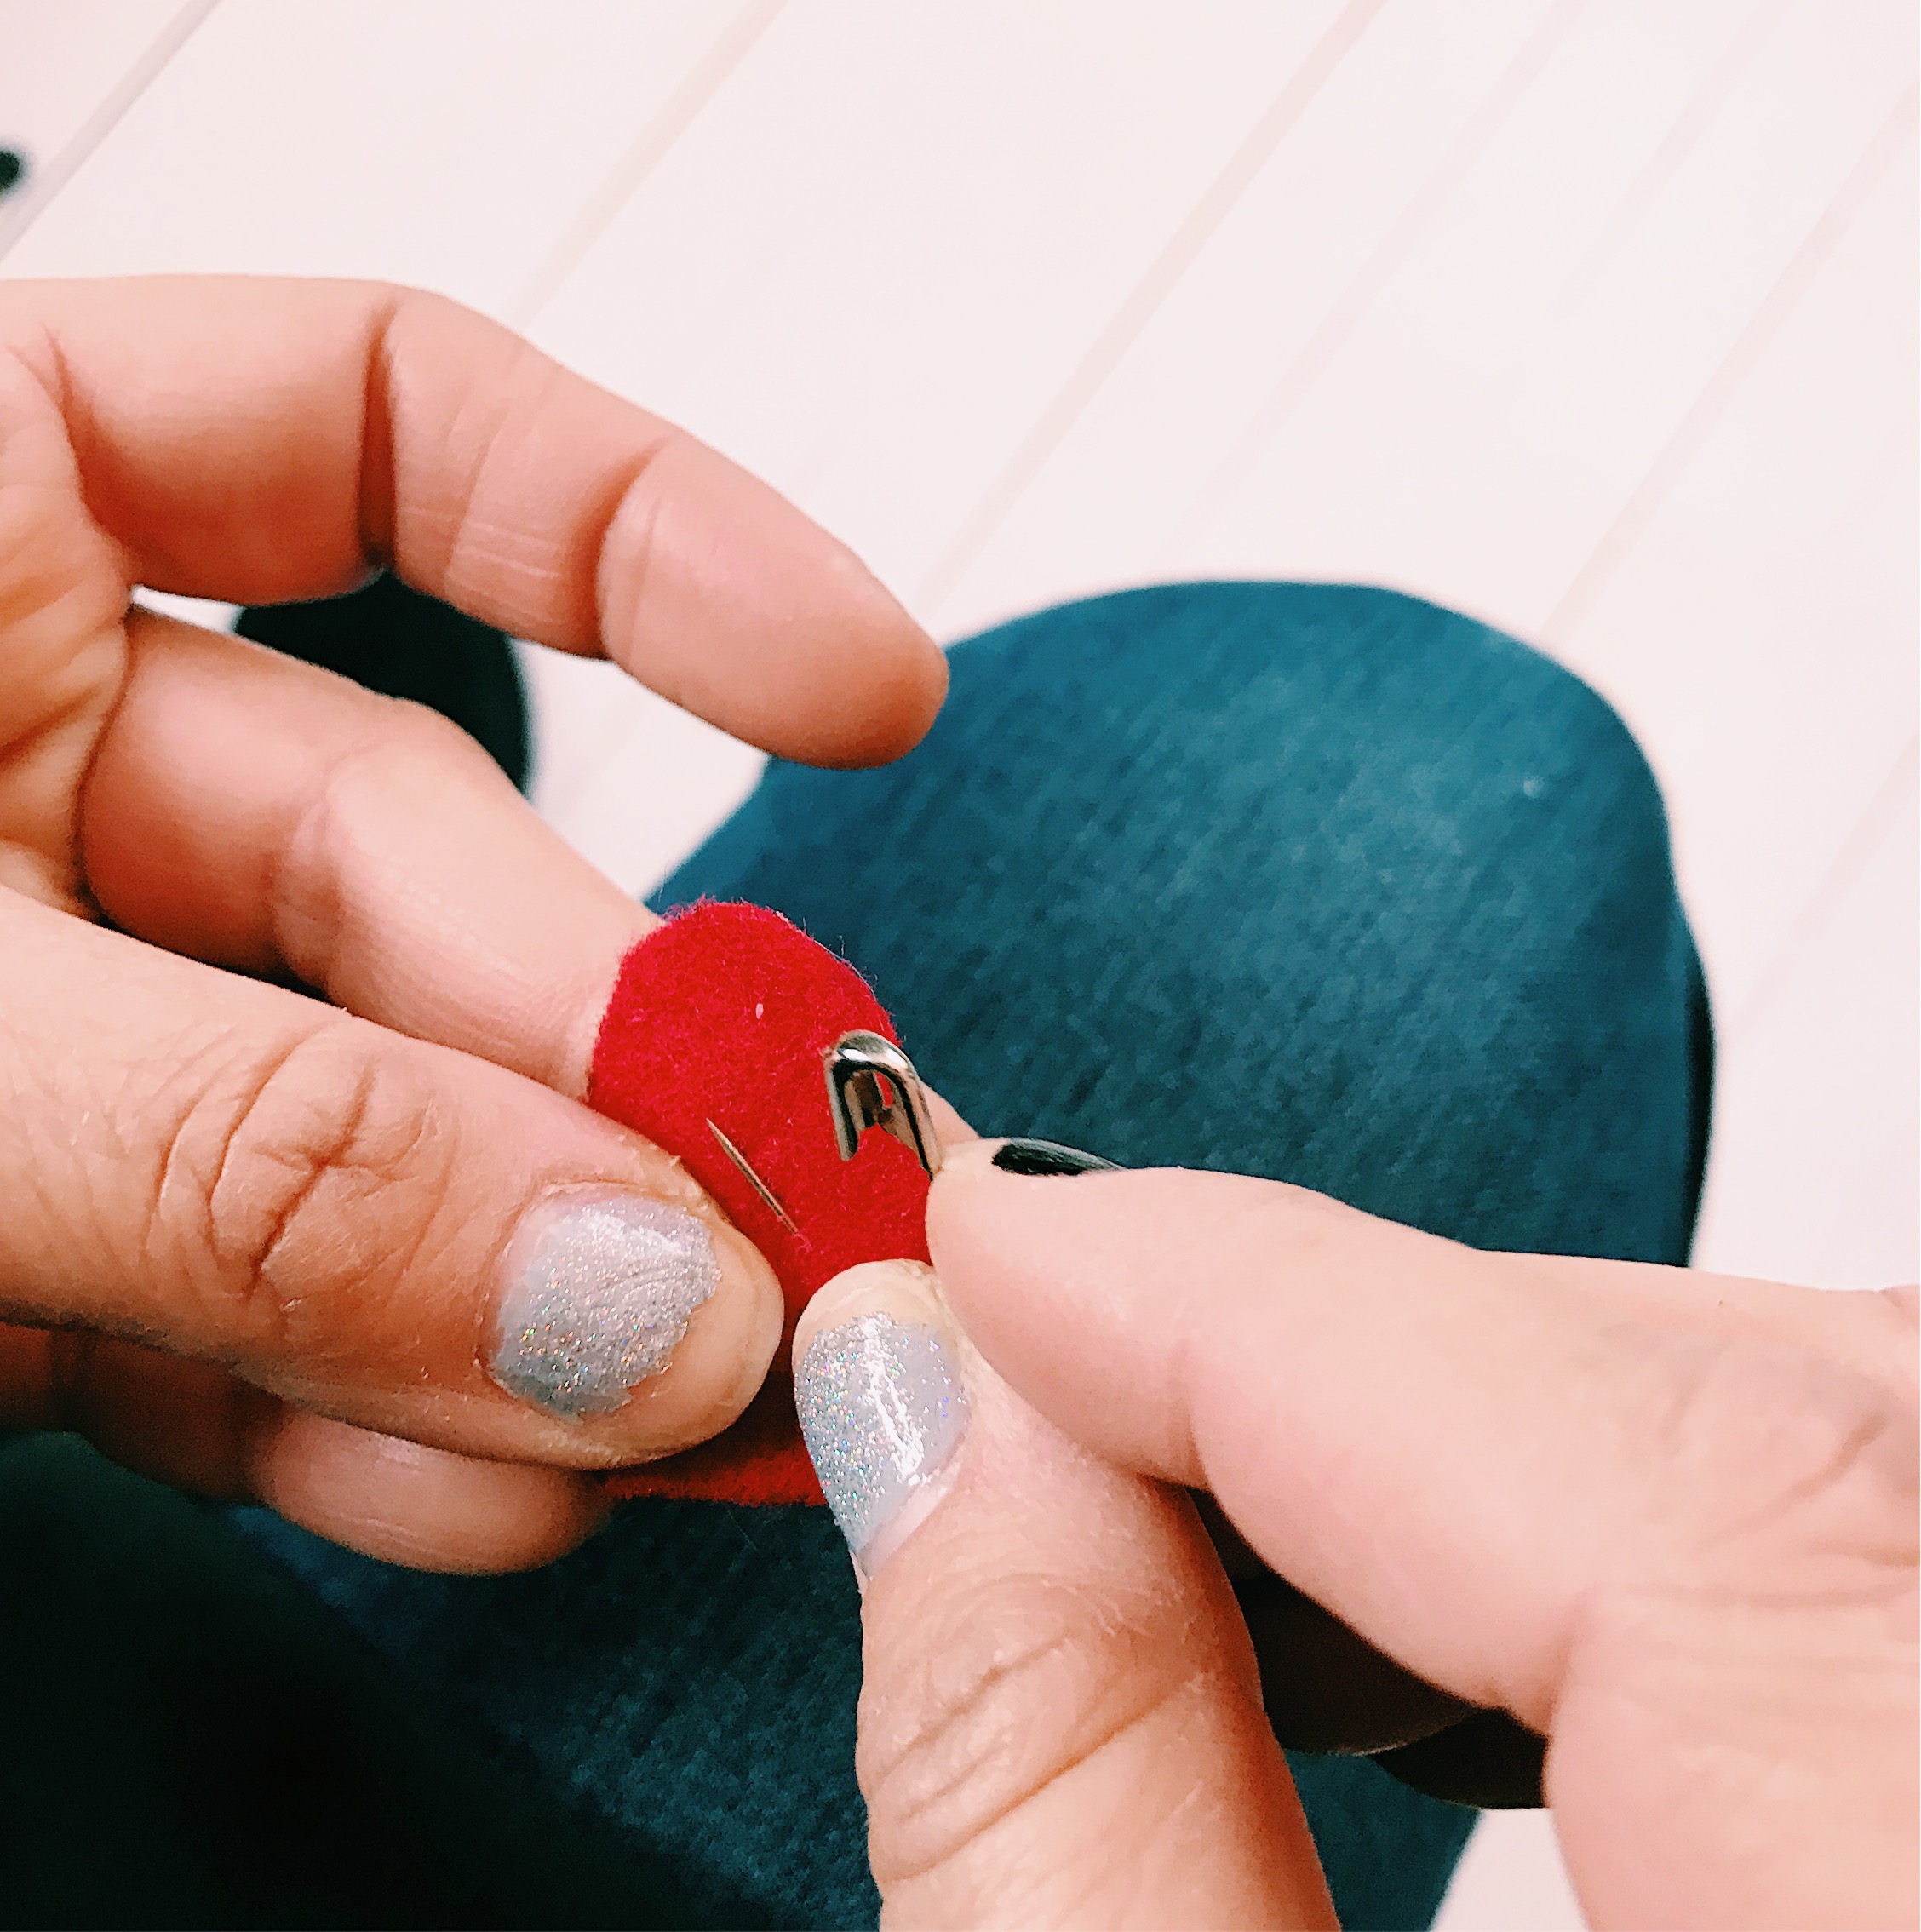
Glue using a hot glue gun. Press down firmly (count to 5) for each letter
Add a safety pin to the center of the backside
Wear it on a jacket, hat, or bag- anywhere you like! Make some for your girl gang, too.
If you make these, please be sure to tag us on social media so we can see and repost them!
I hope you enjoyed this DIY post. Make sure to come back for our Galentine’s party styling post next week!


