


*This post includes some affiliate links. All opinions are my own.
I’m on day 3000 of quarantine and there is no way I am letting myself go (besides living in my bathrobe). Hair, nails, all the things. As vain as it may sound, I refuse. And if you know me, you know I love to get my nails done but with everything being shut down, one can only resort to the DIY life. It’s a good thing I love to learn and try new things. After posting on Insta stories, I got a lot of questions on how to do it and what to buy. So here’s all the info on how to DIY an at-home gel mani/pedi.
Oh, the money you’ll save!
Before you begin, it’s important to know what to buy. Some things I already had at home so I was able to save a little. Your initial investment may seem like a lot to you at first but if you do the math, you’ll be saving $$$ by learning to do it yourself and skip the salon. Just think- a gel manicure costs from $25-35 every 2-3 weeks. Add a pedicure for an additional $25+ (gel pedicures cost even more). Add the tip. Let’s say you spend $55 every time you go to the nail salon plus tip. Almost $1,000.00 per year. And that can go toward some sort of investment or dream vacation (maybe plan it far out).
What You Will Need
- Nail Polish remover (acetone). A regular one will do unless you need to remove tips, then I’d recommend this one.
- A good nail file I like this one. If you want to go a little more pro, add a nail drill to your list.
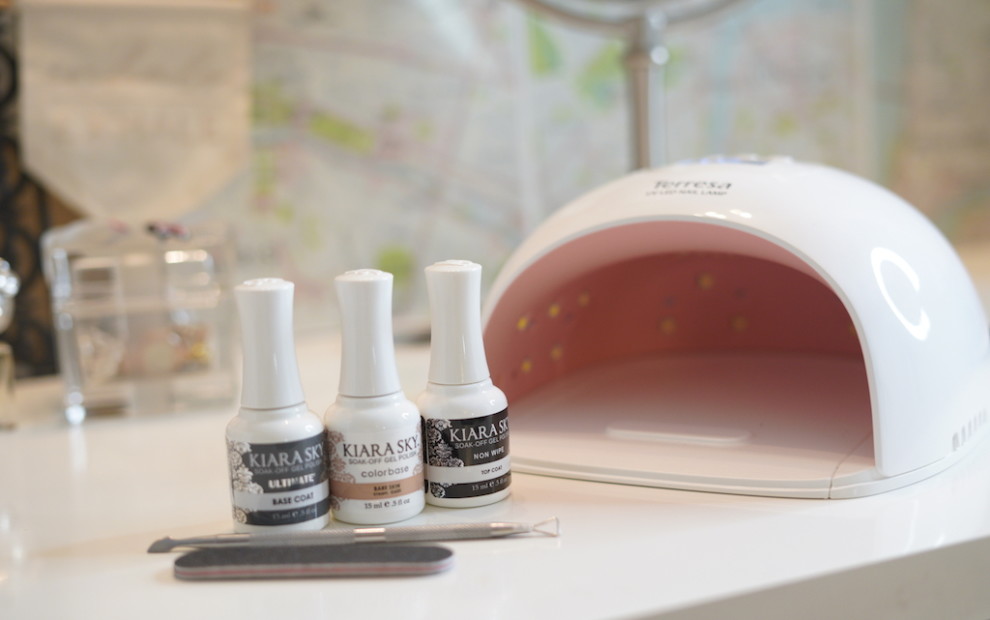
- Gel polishes. You’ll need a base, color, and topcoat. I used the brand Kiara Sky in a nude color. I also used the non-wipe top coat which is better because you don’t need to wipe it down afterward.
- UV LED lamp for curing. I found this one on Amazon and really love it. It also comes with nail files, gloves, and more.
- Cuticle oil. No mani/pedi is complete without a good application of cuticle oil.
DIY: at Home Gel Mani/Pedi
- Remove any old polish with acetone.
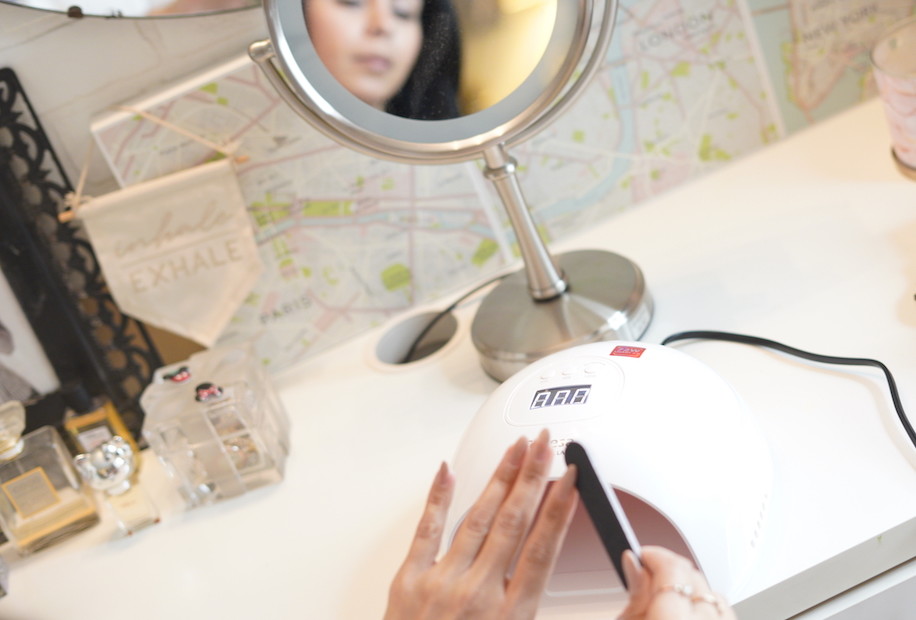
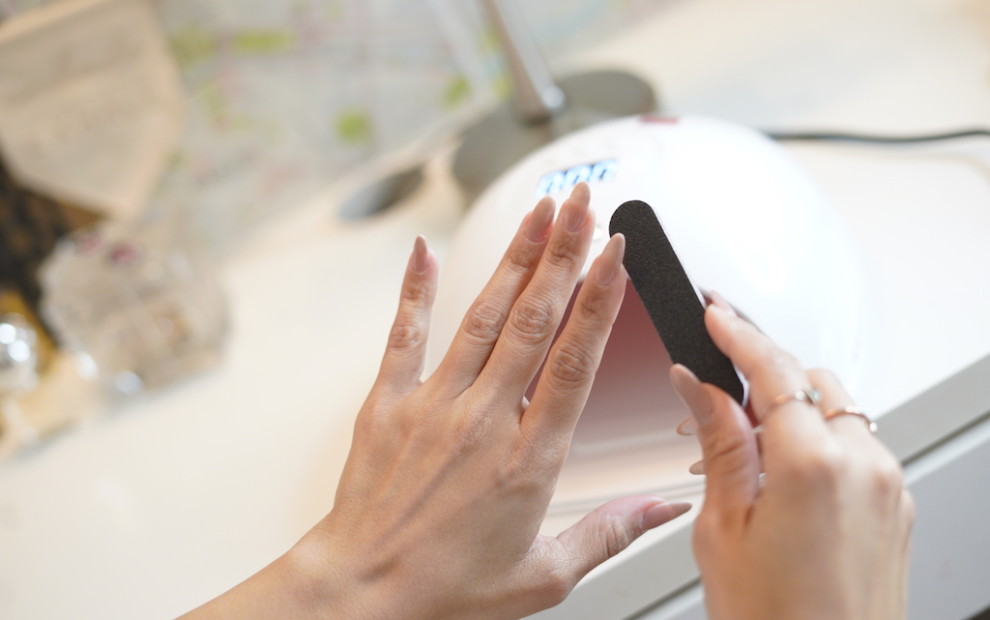
- Shape and buff your nails. Make sure they are nice and smooth.
- Wipe your nails off with nail polish remover.
- Apply gel base coat (from the cuticle up, seal nail edges). Cure under the UV LED lamp for 30 seconds. If they still look too wet, cure for another 30 seconds.
- Apply color and cure for 30 seconds. Do this 2-3 times depending on the color.
- Apply no wipe top coat. Cure for 60 seconds.
- File away any excess. Add cuticle oil. Done!
Tip: Using a small brush (can be an eyeshadow or lip brush), dip into acetone and go around the cuticles before curing. This is just an extra step to ensure the polish is not off of the nail bed. When the gel is loppy, it will lift and not last as long.
I hope you found this tutorial helpful. If you’re considering learning to do your own nails, go for it! It’ll just be one more skill you can add to your resumé

